Publish Static Web App with Azure Pipelines
If you want to know how to publish a static web app with Azure Pipelines, here you have a guide, with a detailed description of each step to follow.
Content
- How to create our static web app in azure portal
- Configure pipeline in azure DevOps
- Some notes on the pipeline
1. How to create our Static Web App in Azure Portal
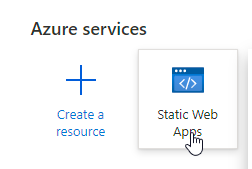
To start, we will create the Static Web. Open Azure and search for “Static Web Apps”
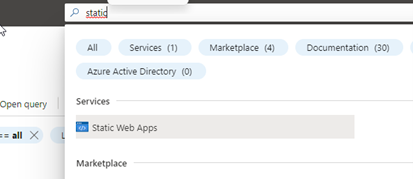
If this option does not appear in the list, you can find it through the global search engine:
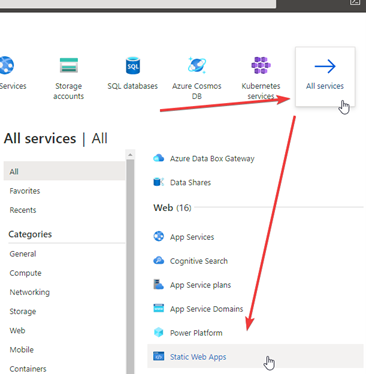
Or in the complete catalog:
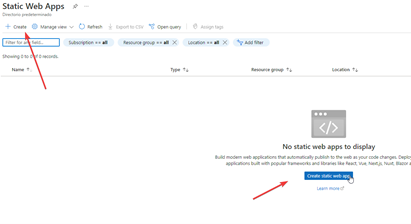
Once the service is selected, create a new Static Web, with the button that appears on the upper left side.
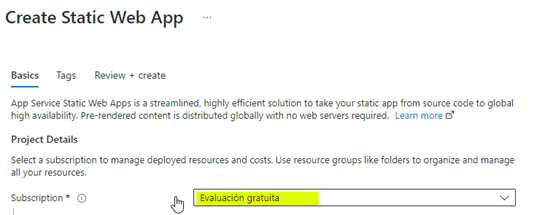
Select your subscription. For this demo I will use the Azure trial period.
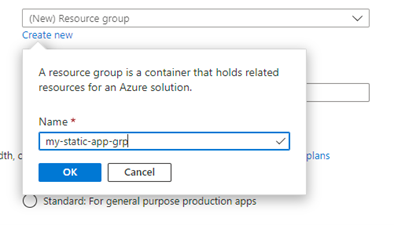
As you will see, it is requested to add it to a group. In our case, I will create one for the demo.
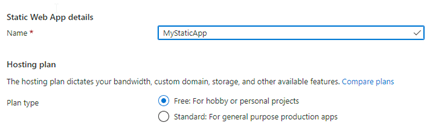
Name your App and select the desired plan. It should be noted that the type of plan can be changed at any time.
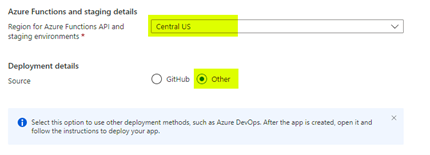
Select the region and the deployment source. In our example we will use “Other”, to configure the Azure DevOps Pipeline.
We end the review and creation process.
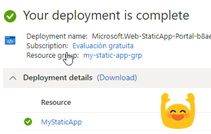
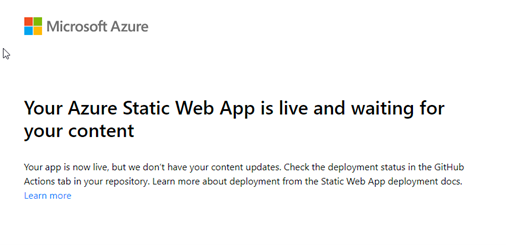
If you click on your app, you will see its detail and url, which will indicate that it is ready for its content.
2. Configure Pipeline in Azure DevOps
Now I will show you how to proceed with the configuration of a Pipeline (in this case, a very simple one) to be able to upload our content.
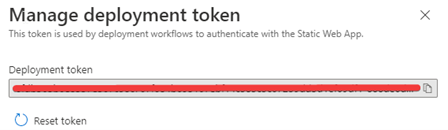
Within the details of the Static Web App you just created, you will find the DeploymentToken needed to configure the pipeline.
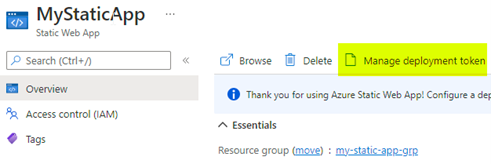
Click on the link and copy the token to use later.
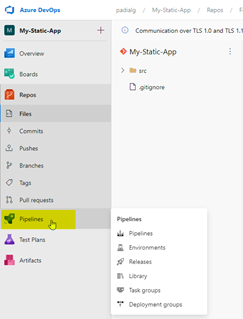
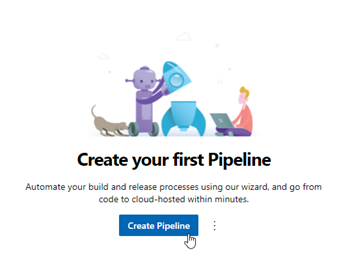
Now go to your Azure DevOps portal, select the project in which the App to be published is located and select pipelines. Click on “create”.
Important: For now only Ubuntu vmimages are supported.
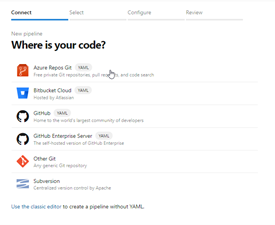
Follow the steps. First, indicate where your code is located.
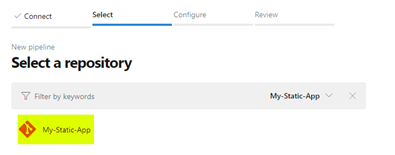
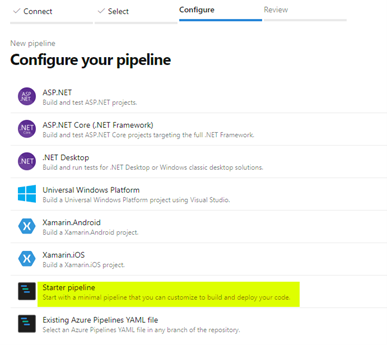
Select the type of pipeline. In this example we will use starter.
Once this is done, you will see the following basic pipeline:
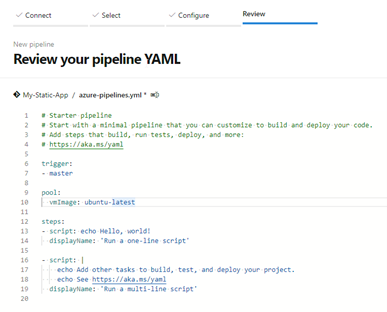
Replace it with the following script:
                        trigger:

                        master

                        pool:

                        vmImage: ubuntu-latest

                        steps:

                        checkout: self

                        submodules: true

                        task: AzureStaticWebApp@0

                        inputs:

                        app_location: '[Path where we find the source code]'

                        api_location: '[Path where our Azure Function is located]' (Optional)

                        output_location: '[Path where the exit is located]'

                        azure_static_web_apps_api_token:$(deployment_token_static) (Variable in which we will store our token)
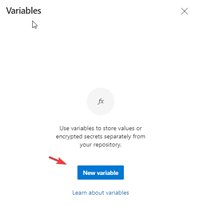
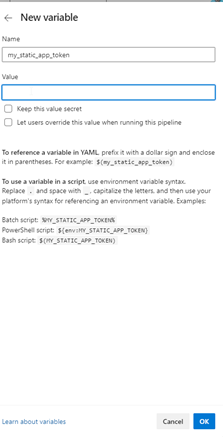
Then create the variable that will store your token.
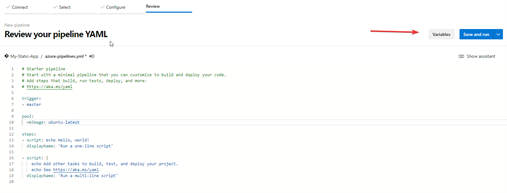
In this example, I'll call the variable my_static_app_token. In "value" you must paste the token that you copied earlier in the Azure Portal.
The script will look something like this:
                        trigger:

                        master

                        pool:

                        vmImage: ubuntu-latest

                        steps:

                        checkout: self

                        submodules: true

                        task: AzureStaticWebApp@0

                        inputs:

                        app_location: '/src'

                        api_location: ''

                        output_location: 'wwwroot'

                        azure_static_web_apps_api_token:$(my_static_app_token)
Important: trigger (Master) is the trigger, therefore, when any member of the team commits against this Branch, the pipeline will be executed. (Not recommended for production slots.)
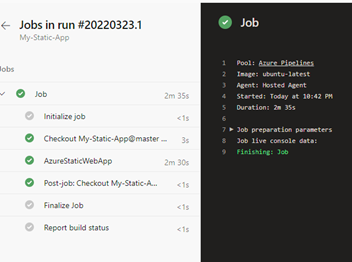
Then select “save and run”.
If you select your pipeline, you will be able to see the details of its execution.
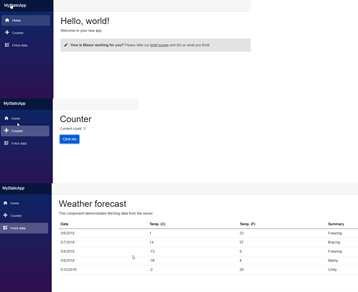
Finally, if you visit the URL of your App, you will see something like this:
3. Some notes on the Pipeline
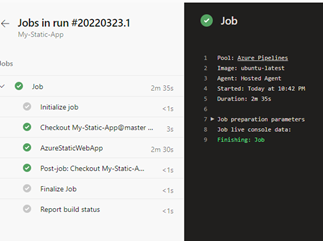
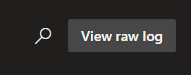
By selecting it you will be able to see the details of its execution. You can select a Raw view.
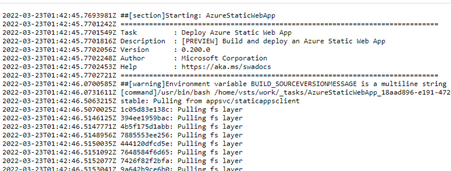
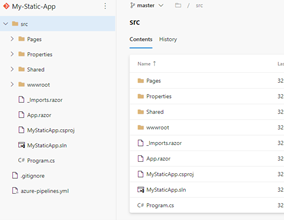
Regarding the settings of the paths used, we can see in the log that it has found my source code. In the repo it looks like this:
Since we don't indicate an API, it informs us that no Azure Function will be created.
So far the steps to create a Static Web App with Azure Pipelines. For more information about Azure Pipelines visit the following link.

Gustavo E. Padial Odorico
Technical leader at Virtusway
Discover how we can help you
Please leave us your question and one of our assistants will contact you asap.